Universe
| Optional | No |
Description
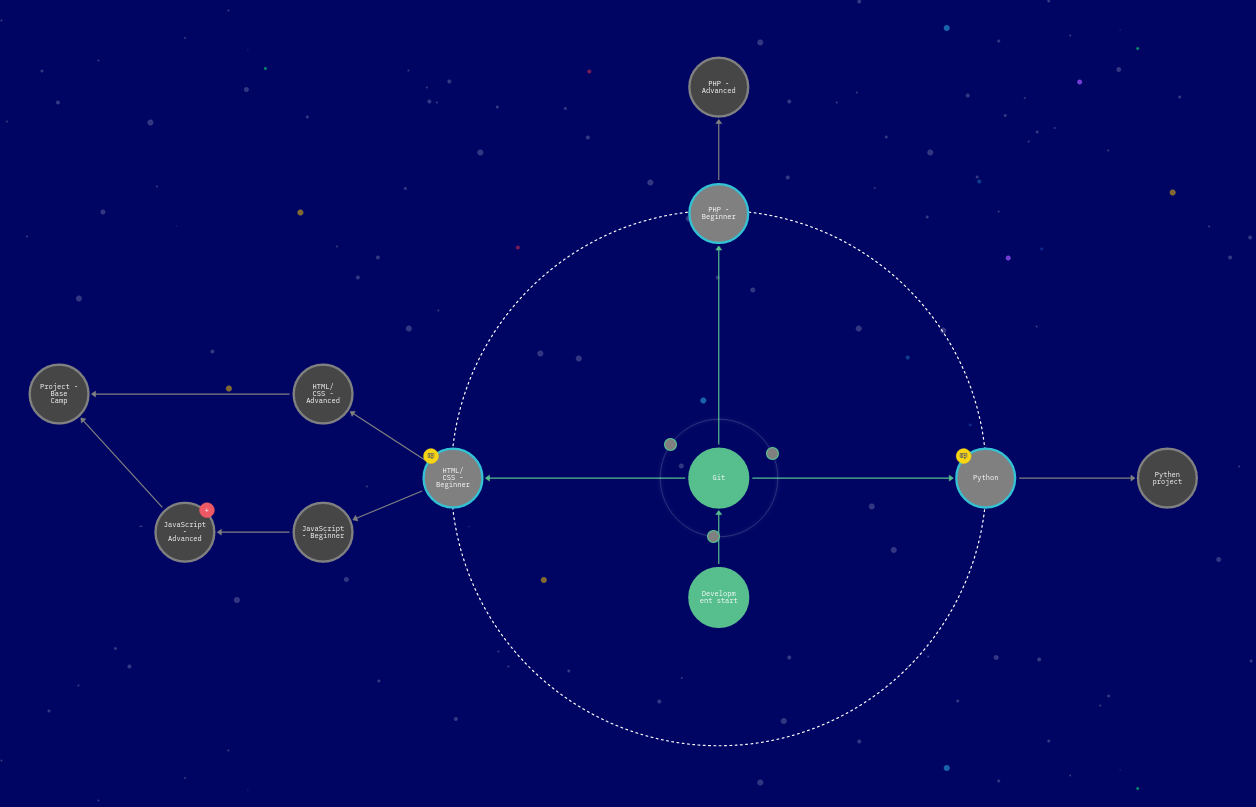
The universe is the place where you can view all your modules and your progress. The modules are displayed in a way you can follow a certain direction or track.
Viewing the universe
There are some shortcuts and controls to view and navigate the universe, these controls can be found in the bottom left table named 'Shortcuts' when viewing the universe.
Module attributes
In the universe a module can have certain attributes.
| Attribute | Description | Preview |
|---|---|---|
| Certificate | When a certificate is available for the module, it will be represented by a small yellow circle, with a certificate icon, on the top left of a module. |  |
| Education level | When the education level of a module is either 'Intermediate' or 'Advanced', it will be represented by a small red circle, with a '+' or '++' respectively, on the top right of a module. |  |
| Orbiting track moons | When a track can be started from a module, it will get an orbiting moon around it. This moon represents the track that can be started from the module. You can click on one of the moons to see what tracks can be started from the module. For example, from this module the student can start three tracks. | 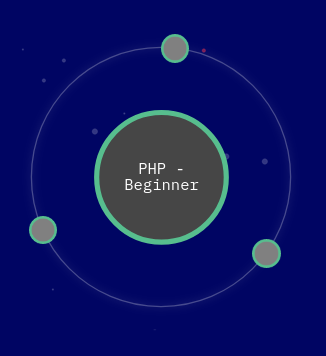 |
Role specific details
Coach
As a coach you have an extra attribute on the module. You can see the current progress of a module.
When there are students that have completed the module, it will be shown by a small green circle, on the bottom right of the module.

Editor
Cloning a universe
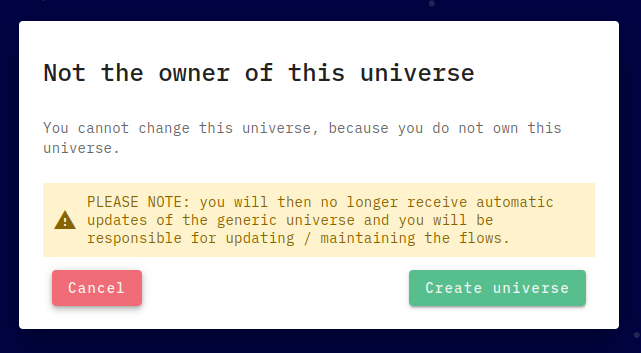
If you are currently using a universe from a different location, it means that you are not the owner of the universe. And cannot edit the universe. The universe will in fact update if the other location edits it.
If you want to make changes to it, you can clone it. This means Jarvis will create a copy of the current universe and make it yours.
You will no longer receive automatic updates of the old universe, and you will be responsible for updating / maintaining the flows.

This will show you a message that you are not the owner of the universe. Make sure you understand what the warning
message means, and you agree to these terms.
When you do agree, you can click the green Create universe button. After you clicked this button, the cloning process
will take about 10-30 seconds, depending on how big the universe is.
Editing the universe
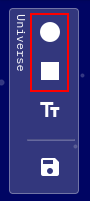
If you are the owner of your universe, you can edit it. You can edit the universe by switching the edit mode switch to on.
After this you can click and drag on modules or other cells to move them around. To save the current layout, you can press the save button in the top left.
You can also resize almost all cells, you do this by first clicking on the cell, selecting it, and dragging the small gray circle on the bottom right.
To remove a cell, click on the cell, selecting it, and clicking the red X.
Adding cells to the universe
Modules
To add a module to the universe, open the menu on the bottom right by clicking on the red circle menu.
Click on Connect module, this will open a dialog where you can search for a module to connect to your universe.
Level gates
To add a level gate to the universe, open the menu on the bottom right by clicking on the red circle menu.
Click on New level gate, this will open a dialog where you can set the level for the level gate.
Groups
Groups also move a bit differently, because they can stack on top of each other. To move a group, you first have to select it, then unlock it by clicking on the lock in the top right, after this you can move the group around.
Labels
Lines and flow
In order to create a flow inside your universe that the students will follow, you need to connect modules together using lines. This will make the selected module a prerequisite for the module it is connected to. This means that the selected module has to be completed before the student can continue with the module it's been connected to.
For example, here the student first has to complete the module HTML / CSS - Beginner before the student can start
on HTML / CSS - Advanced
To remove a line between 2 modules, you need to hover over the line, and press the red X button.
Start module
The start module can be selected using the dropdown menu in the top right. This is not only used for the student's tour. The student will also be automatically enrolled in the start module at the end of the tour. So it is highly likely that the student will start here. There can be multiple possible starting points of the universe, every module that does not have a prerequisite line is considered a starting point.
Snapping
To align modules, groups, labels and lines we have introduced a snapping feature. This feature will automatically snap the cell you are moving to adjacent cells.